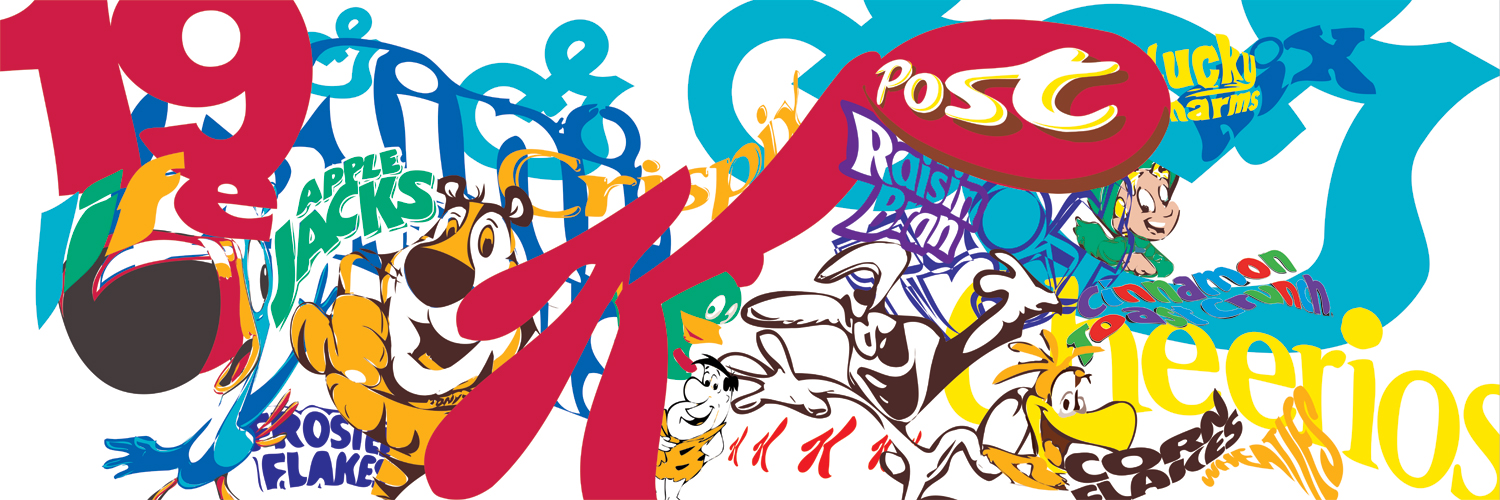
When I made my 1000 Subscribers video, I decided to also give everyone a little gift to thank them for subscribing. So, I took a few hours and designed this wallpaper using the lyrics that I wrote for A Whole New YouTube.
I didn't really have much of a plan going into it, I just decided to throw myself in and see where it ended up. I used Serifa 45 Light and 75 Black, and I think this is the first time I've actually used that font. Originally I was going to use Rockwell, but it just felt too heavy for the look I was going for, and Serifa Light seemed like it fit better. The background wasn't always red; in fact, it was white until about halfway through. But then when I tried the red it seemed to bring more variety to the design since I could play with different shades of red, and white and black text next to each other. I think it kind of ended up looking like some Coca-Cola designs, which I absolutely love.
Let me know if you have any comments or questions!
After posting a video on Sunday in which I made a miniature version of Paper Towns, I got lots of comments and messages in which people asked for help in making one of their own. So, I come to you in this magical blog post with all the answers you could ever want. (Actually, that's a lie. All the answers you could ever want belong to Google.)
First, why don't we all refresh our memories by rewatching the video? (Totally not trying to up my video views, what are you talking about?)
Ok, the first thing to do is to decide what book you want to make. Now it's time to recreate the pages on the computer. You're going to need InDesign or another program that can lay out multiple pages in the same document. First measure the book to get the page proportion and then use basic algebra to figure out how big your tiny version's going to be (so if the book is 6"x8" and you want it to be 4" tall, it's going to have to be 3" wide). Then just start typing and laying out the pages, trying to match them as closely as you can to the original. Don't be afraid to use really, really tiny type, especially if you have a laser printer that can print it nice and sharp. This is probably the most time-consuming part of the entire process, honestly.
Once you have it all laid out and perfect, it's time to print. You're going to need to print double-sided, so either find a double-sided printer or feed the pages back through a regular printer carefully (and when you mess up, know that you're feeling the same frustration graphic design students feel every week). Now use the same proportion you came up with before to figure out how many blank sheets of paper you'll need in order to make the mini book the same thickness proportionally as the original book (the easiest way to do this is to find the thickness you'll need, like .25" and then make a stack of paper that thickness and count how many are in that pile.)
Cut out the printed pages and as many blank sheets as you need, taking care to make them all exactly the same size. If they're a little off, you can sand the edges with really fine sandpaper to make it more exact.
Now comes the actual book-making. Get some archival glue (or regular glue if you don't need it to last forever). Clamp the end of the book that's going to be open in the end and apply glue liberally to the other side, putting just a smidge over the top and bottom corners. Take off the clamp and leave the book between wax paper under heavy books for at least an hour, or however long you think it'll take the glue to dry. After the glue is dry, flip through the book a little, and if the binding seems loose, put another coat of glue on and put it back under the books (I had to do two coats on the Paper Towns book). If you're an experienced bookbinder and want to sew the book, go ahead and do that - I just wasn't brave enough to try it at such a small scale (though if you're ever making a full size book, glue alone usually isn't enough to hold it together).
While that's drying, you can start making the hardcover. You'll need Davey Board or really any kind of thick (non-corrugated) cardboard. Cut three pieces - two for the front and back that are a little bigger than the page size (use your judgment for how much bigger you want to make it). Cut the third piece just a little wider than the thickness of the book and the same height as the front and back. Then get some bookcloth or any kind of thick paper. Glue the board onto it with about double the thickness of the board between each piece. Cut the cloth or paper so there's an even border, and then cut off the corners at the 45 degree angle. Apply glue to the cloth edges one at the time and fold them over, taking care not to have any bumps. Fold the hardcover like a book to make sure it'll take it's shape nicely.
Now cut blank paper to be the endsheets. You'll probably want to use cardstock or something thicker than regular paper. Cut it so it can fit over the exposed board with a small border and then be folded so it's also the endsheet for the book (sorry if that didn't make sense, just watch the video if you're confused). Cut two of those and glue them to the exposed board on the front and the book with the rest of it scored and folded. Get your text block out from under the blocks and glue it carefully to the endsheets you just glued in, making sure everything is neatly lined up. Press this under books for a while until the glue is dry.
Now the only thing left is to make the book jacket, which is the easiest part of the whole thing. Just scan the original jacket and then resize it so it's the same height as your minibook, print it and score it along the folds, and slip it on.
That's all there is to it! This is a very simplified version of the full-size bookmaking process, so if you're interested in that just google it and you'll be able to find many tutorials much better than this one. I don't claim to be a professional book-maker by any means, so if you try something and it works better than the way I suggest, let me know so I can learn too. And if you decide to make one, send me photos!
After meaning to be finished pretty much every day since December 27th, I've finally finished updating my site with all my work from Fall semester. A lot of it I've posted here before, but some of it is final projects which most of you haven't seen yet. I'll post below some of my favorite new pieces and some information about them, but be sure to poke around on the site a bit more if you want to see everything.
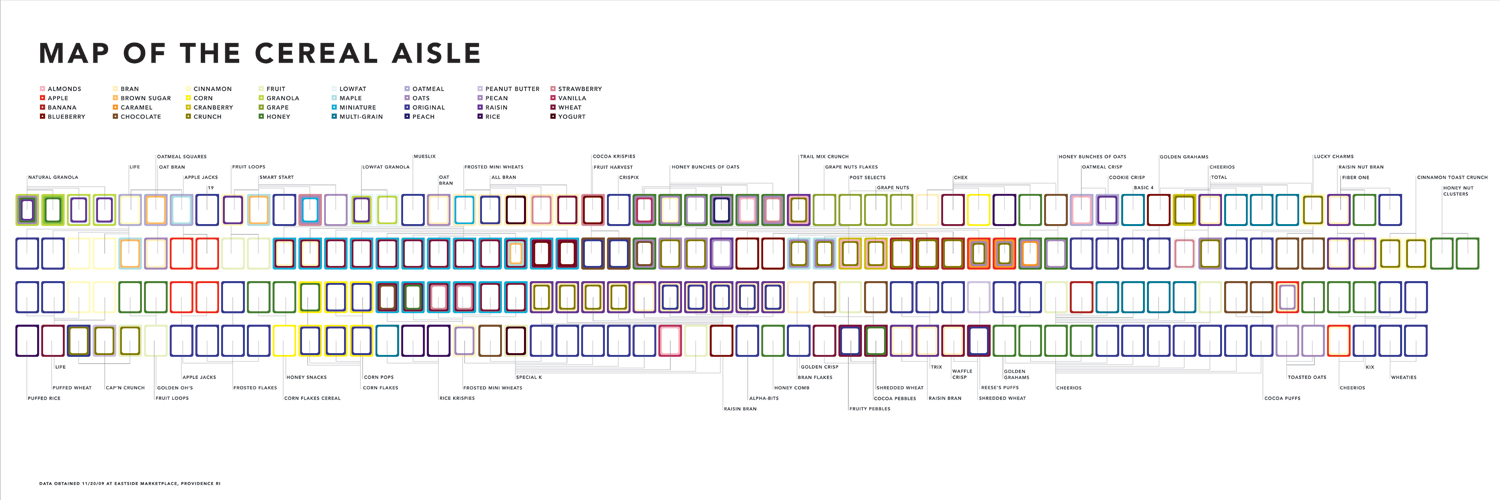
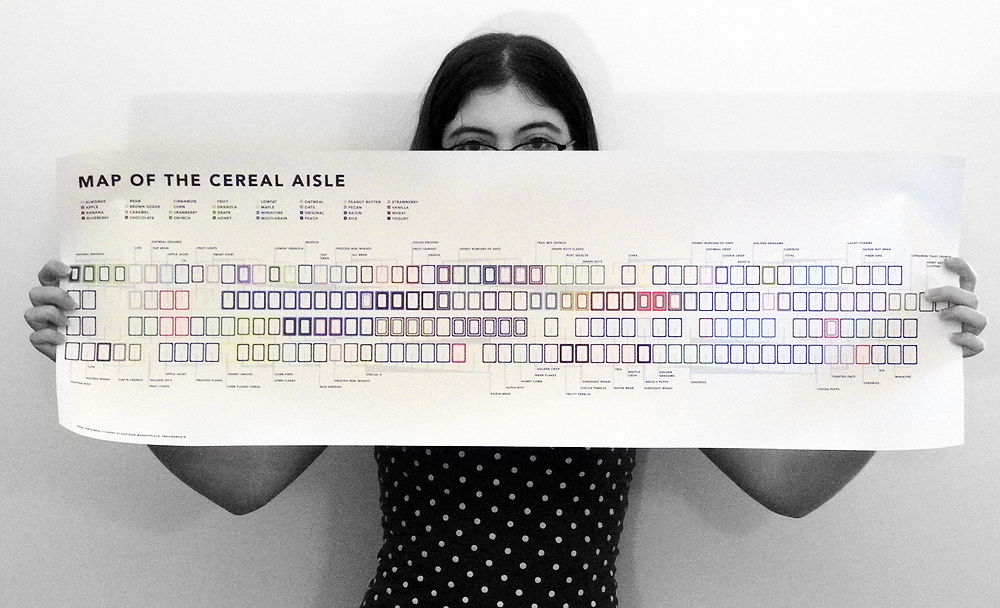
Map of the Cereal Aisle: For the second final project in Making Meaning, we had to make a series of three maps, one objective, one subjective, and one that can be a mix of the two. I decided to map the cereal aisle in the grocery store. In the first one, I tried to present cost and sugar content in an easy to read way. The second is an abstract composition of what jumped out at me while looking at the mess of colors and logos and cartoon characters that is found in the cereal aisle. In the third, I tried to present the location and ingredients of the different brands in an aesthetically pleasing way while trying to recreate the difficulty of finding what you need while standing in the actual store.
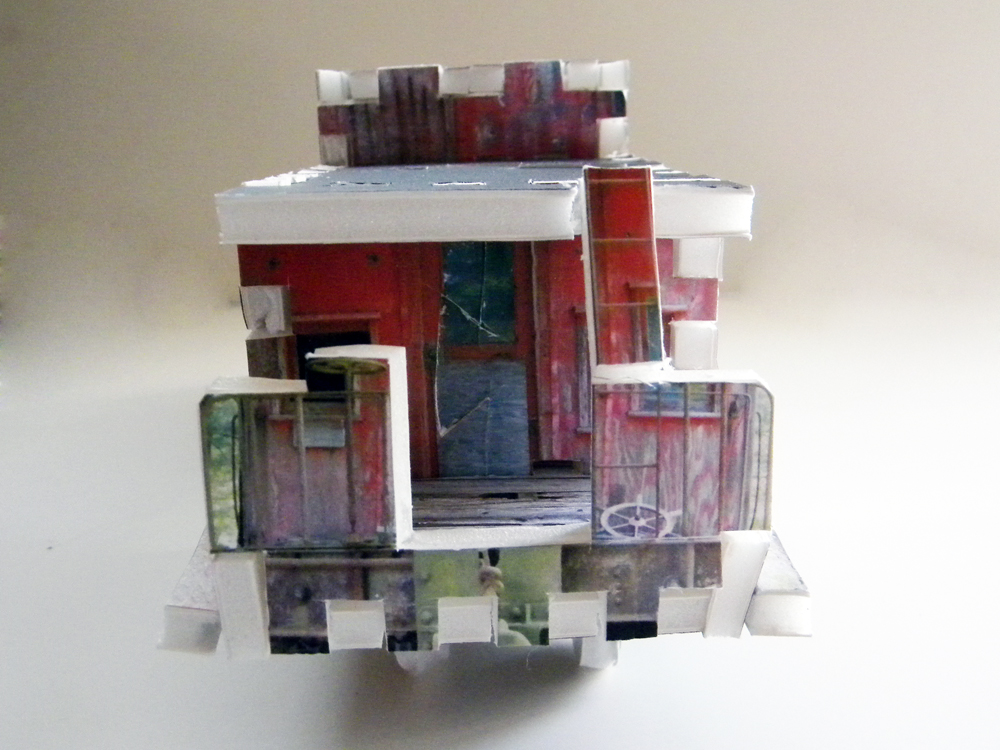
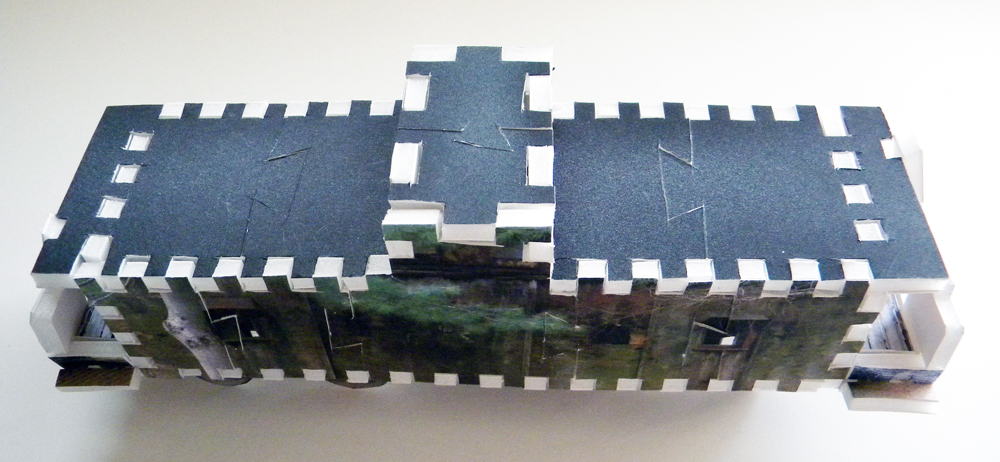
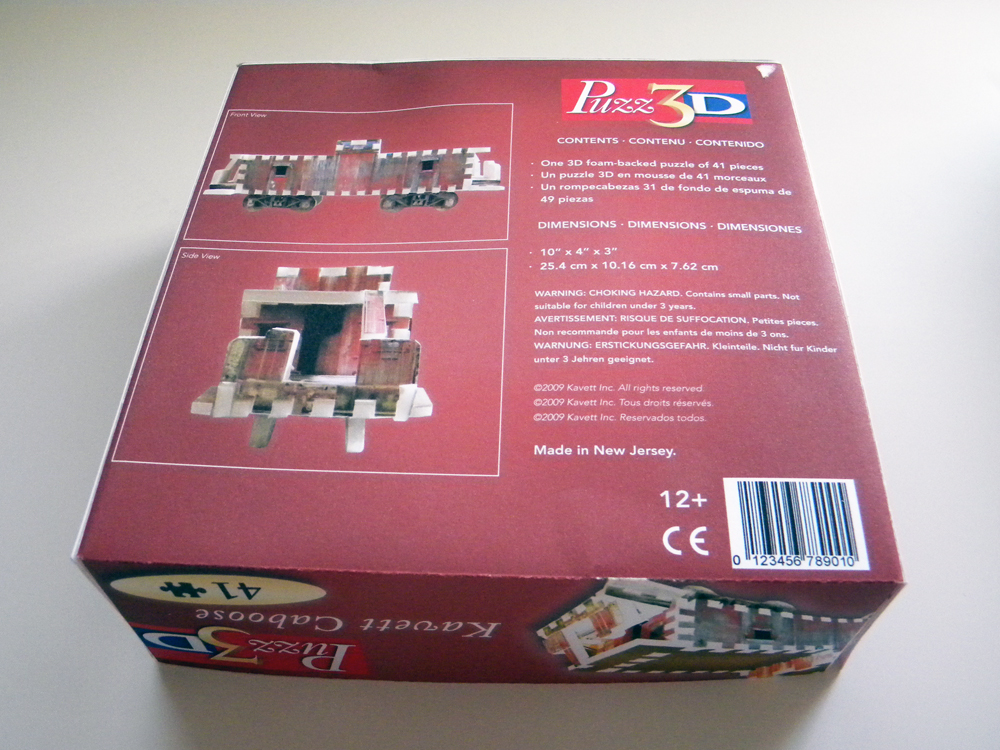
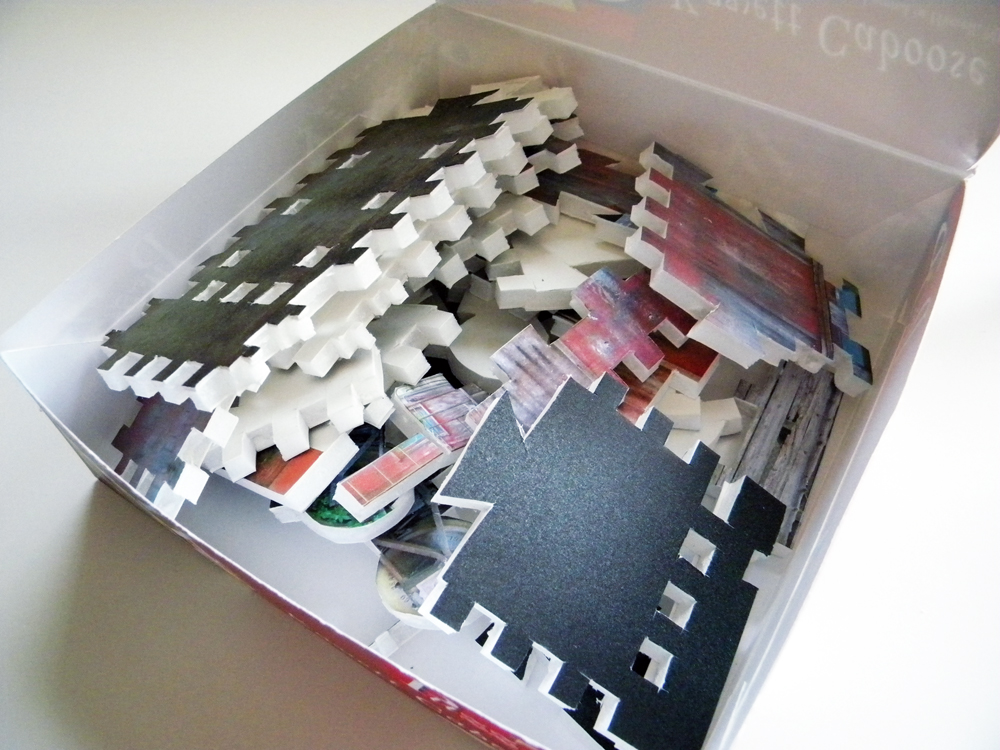
Custom Puzz3D: For my sister's Christmas present this year, I made her a custom Puzz3D of the caboose in our backyard. This has been a work in progress since the summer, which is when I took the photos that appear on the final puzzle. I went through a pretty long process getting everything to fit together correctly, so I might make a separate blog post detailing all of that in the future.
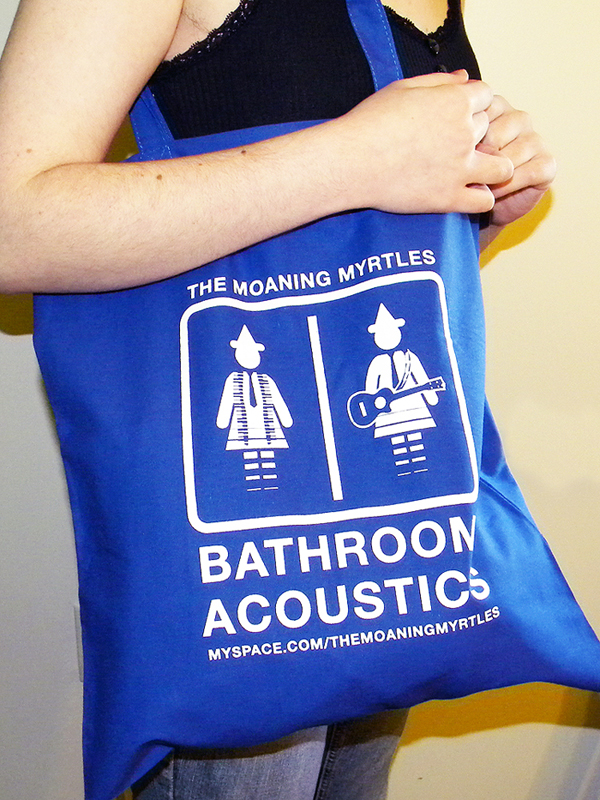
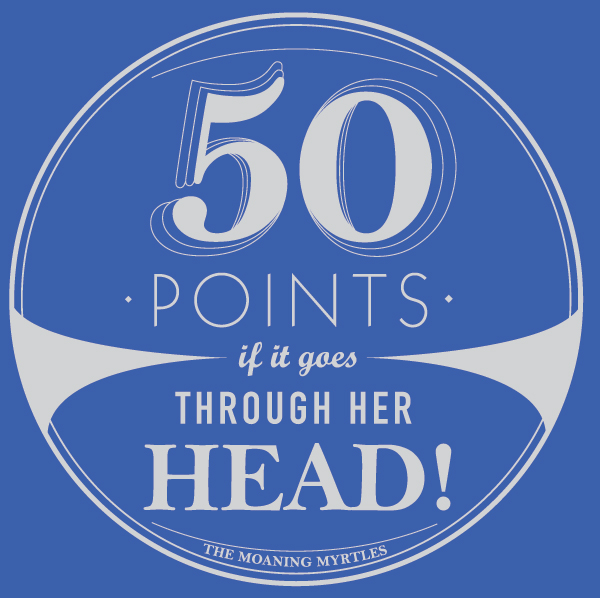
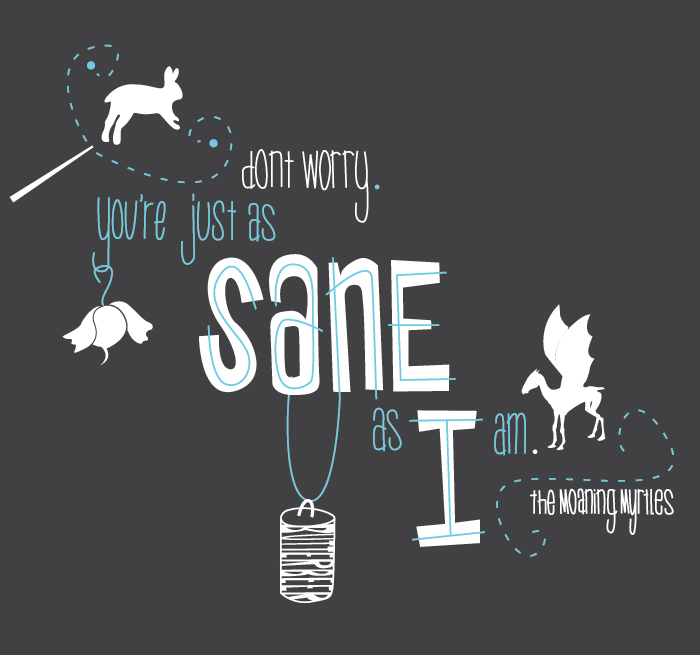
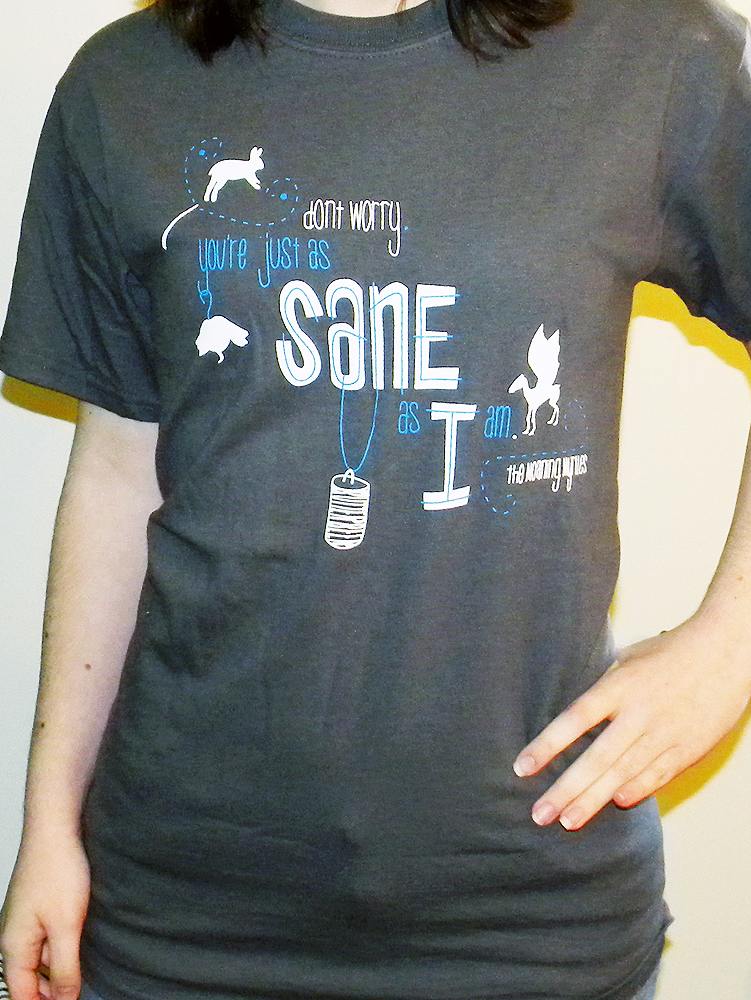
Moaning Myrtles Merchandise: I already wrote a blog post about the designs of the new merchandise for The Moaning Myrtles, but I added photos of the actual products that give a more complete look at what the designs look like in the real world.
Thanks again for reading. If you find a broken link or an image that doesn't work, please let me know either in a comment here or an email. And even if everything is working perfectly (cross your fingers), any comments are always appreciated!